Why You're Seeing "GPAY*" on Your Bank Statement
Why You're Seeing "GPAY*" on Your Bank Statement
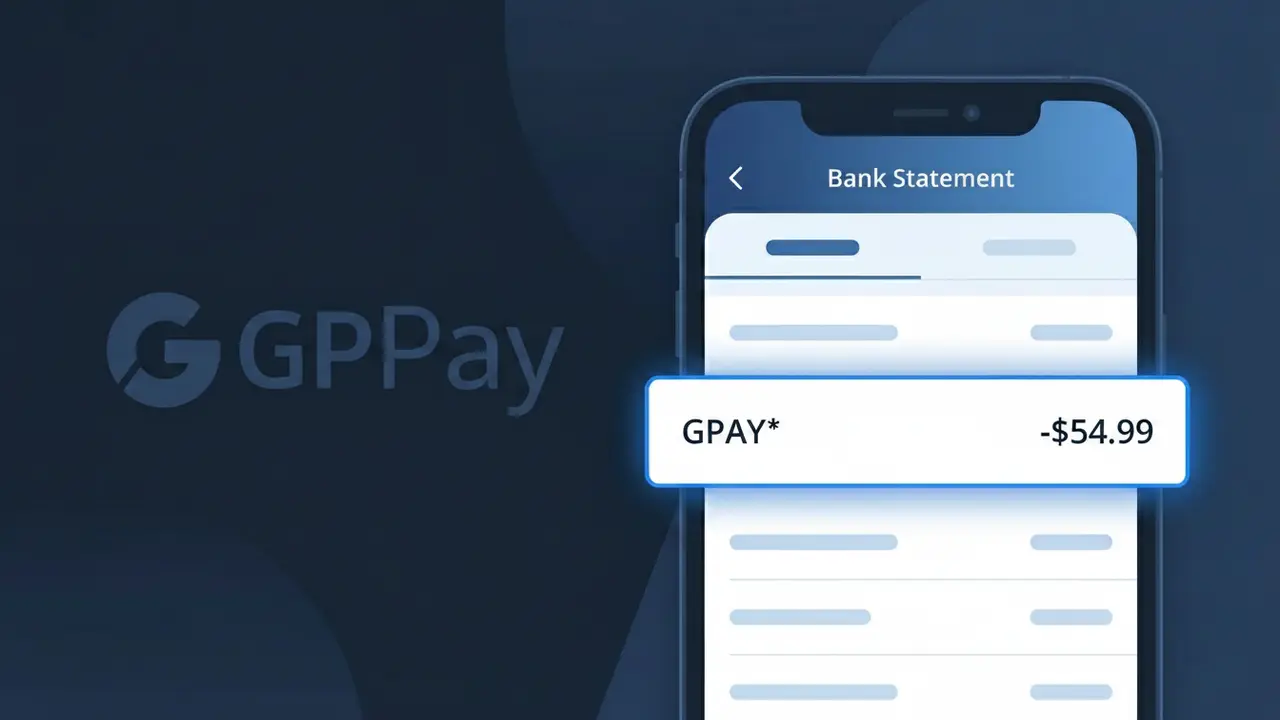
The GPAY* charge on your bank statement comes from Google Pay India, the popular digital payments platform widely used across India for UPI-based money transfers. This descriptor appears when you or someone with access to your account has made a payment, sent money, or completed a financial transaction through the Google Pay app using the Unified Payments Interface (UPI) system. Google Pay India processes millions of peer-to-peer transfers, merchant payments, and bill settlements daily, which is why this charge may show up frequently. If you see GPAY* followed by additional characters or a reference number, that suffix typically identifies the specific transaction or recipient.
The GPAY* descriptor appears on your bank statement because Google Pay India uses a shortened billing identifier to represent transactions processed through its UPI payment gateway. Banking systems have limited character space for transaction descriptions, so Google Pay's full name is truncated to this compact code. The asterisk following GPAY often precedes a transaction reference or merchant identifier, helping distinguish individual payments within the same billing descriptor.
Is the GPAY* Charge Legitimate or Fraud?
A GPAY* charge on your bank or credit card statement is typically a legitimate transaction processed through Google Pay India, Google's unified payments interface (UPI) platform widely used across India. This descriptor appears when you send money, pay a merchant, recharge a mobile, or complete any financial transaction via the Google Pay India app. However, if you don't recognize the charge, it's worth investigating further.
- GPAY* is the official billing descriptor used by Google Pay India for processed payments
- The charge may reflect peer-to-peer (P2P) transfers, merchant payments, or bill payments made via the app
- Unauthorized GPAY* charges could indicate account compromise or a family member's transaction
- Google Pay India sends email and in-app notifications for every transaction, which can help verify the charge
How to Verify the GPAY* Charge
- 1
Check your Google Pay India transaction history
Open the Google Pay India app and navigate to 'Transaction History.' Match the charge amount and date to a specific payment or transfer listed there.
- 2
Search your email for receipts
Look for emails from Google Pay India (noreply@google.com or pay-noreply@google.com) around the date of the GPAY* charge. These emails contain full transaction details.
- 3
Check with household members
If family members share your bank account or UPI-linked account, ask if they made a payment via Google Pay India that could have triggered the GPAY* charge.
- 4
Review linked subscriptions or autopay
Google Pay India supports autopay for utilities, streaming services, and insurance. Check your Google Pay India autopay settings to see if a recurring mandate triggered the GPAY* charge.
- 5
Contact your bank
If you still can't identify the GPAY* charge, call your bank's helpline and ask for the full merchant details attached to the transaction. Banks can often retrieve additional metadata.
How to Dispute a GPAY* Charge
- 1
Act promptly within 30–60 days
Most banks and Google Pay India's own dispute process require you to raise concerns quickly. Don't wait — report an unrecognized GPAY* charge as soon as you spot it on your statement.
- 2
Contact Google Pay India support first
Open the Google Pay India app, go to 'Help,' and raise a dispute against the specific transaction. Google Pay India's support team can investigate and initiate a refund if the charge was erroneous.
- 3
File a chargeback with your bank
If Google Pay India doesn't resolve the issue, contact your bank or card issuer and formally request a chargeback for the GPAY* charge, citing it as unauthorized or unrecognized.
- 4
Request a new card or UPI ID if compromised
If you suspect fraud, ask your bank to issue a new debit/credit card and reset your UPI PIN in the Google Pay India app to prevent further unauthorized GPAY* charges.
Tips for Managing Google Pay India Charges
Enable transaction alerts in Google Pay India so every GPAY* charge triggers an instant SMS or push notification.
Screenshot your Google Pay India transaction history monthly to reconcile GPAY* entries against your bank statement.
Set a strong UPI PIN in your Google Pay India account and never share it — this prevents unauthorized GPAY* charges.
Review all Google Pay India autopay mandates every billing cycle to avoid surprise GPAY* recurring charges.
Use Google Pay India's built-in fraud reporting tool immediately if a GPAY* charge looks suspicious.
Use WhatIsThisCharge.net to identify related charges that may appear alongside GPAY* on your statement.
Frequently Asked Questions About GPAY*
Was this article helpful?