Why You're Seeing "TWITCH*BITS" on Your Bank Statement
Why You're Seeing "TWITCH*BITS" on Your Bank Statement
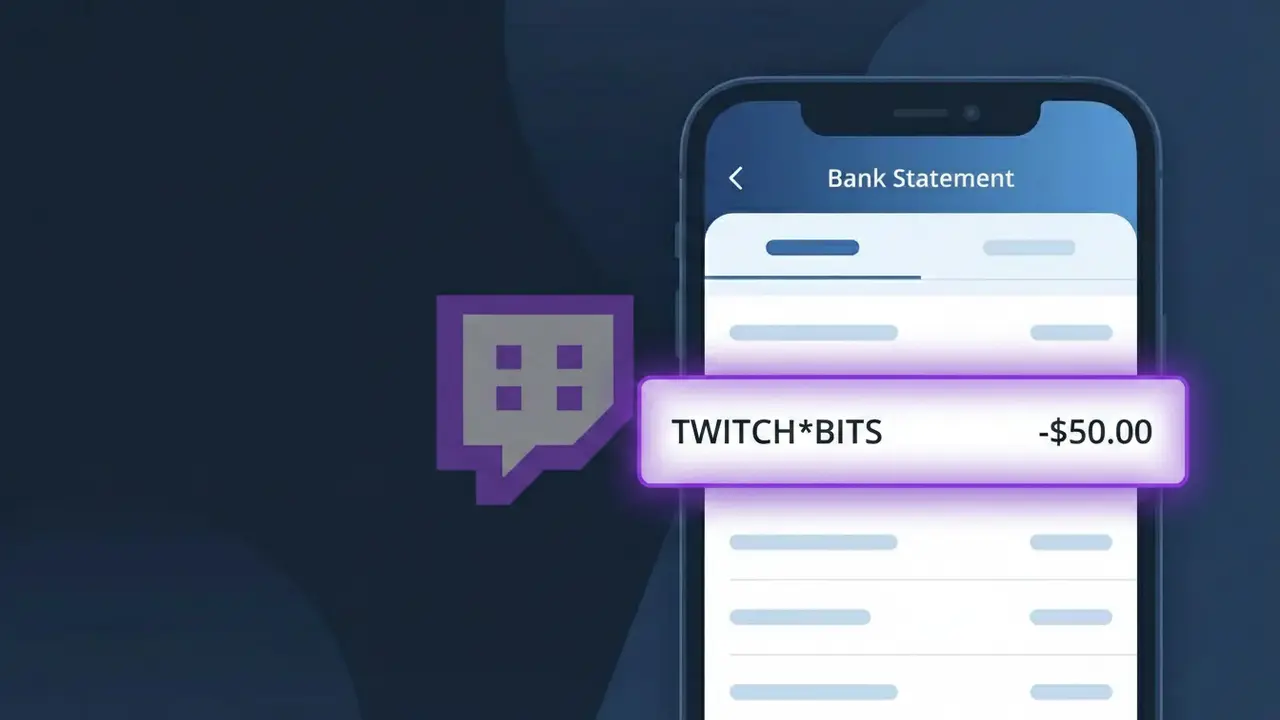
The TWITCH*BITS charge on your bank statement comes from Twitch, the popular live streaming platform, and represents a purchase of Twitch Bits — the platform's virtual currency. Bits are used by viewers to support and tip their favorite streamers through animated chat emotes called Cheers. This charge appears when you buy a bundle of Bits directly through the Twitch website or app. If you or someone with access to your account watches Twitch streams, this is almost certainly the source of the charge.
The descriptor TWITCH*BITS appears on your bank statement because Twitch uses a shortened billing format that combines the company name with the specific product purchased, which is standard practice for digital platforms processing high volumes of microtransactions. The asterisk (*) is commonly used by payment processors to separate a merchant's name from a product or service identifier, making it easier to distinguish between different types of Twitch purchases. This format helps differentiate a Bits purchase from other potential Twitch charges, such as a Twitch Prime or channel subscription fee.
Is the TWITCH*BITS Charge Legitimate or Fraud?
The TWITCH*BITS charge on your bank or credit card statement is almost always a legitimate purchase of Bits on Twitch — the platform's virtual currency used to cheer for and support streamers. This charge is processed directly by Twitch and will appear as TWITCH*BITS whenever you buy a Bits package through the Twitch website or mobile app.
- Twitch Bits are purchased in bundles (e.g., 100, 500, 1000 Bits) and each bundle triggers a TWITCH*BITS charge
- The charge amount will match a standard Twitch Bits package price, typically ranging from $1.40 to $140+
- Twitch sends a purchase confirmation email to your registered address whenever Bits are bought
- If you share your Twitch account or payment method with family members, they may have purchased Bits without your knowledge
How to Verify the TWITCH*BITS Charge
- 1
Check your Twitch purchase history
Log into your Twitch account at twitch.tv, navigate to Settings > Subscriptions & Bits, and review your Bits purchase history to match the TWITCH*BITS charge amount and date.
- 2
Search your email for Twitch receipts
Search your inbox for emails from Twitch (noreply@twitch.tv) containing 'Bits' or 'receipt.' Each TWITCH*BITS transaction generates a confirmation email with the exact purchase amount.
- 3
Check household members
Ask family members or anyone with access to your payment method if they purchased Twitch Bits recently — children or partners may have bought Bits to cheer on a favorite streamer.
- 4
Review your Twitch payment methods
Go to Twitch Settings > Security & Privacy > Payment Methods to confirm your card is listed there, which would confirm the TWITCH*BITS charge originated from your account.
- 5
Contact your bank
If you cannot verify the TWITCH*BITS charge through Twitch, call the number on the back of your card and ask your bank for additional merchant details such as transaction ID or IP location.
How to Dispute a TWITCH*BITS Charge
- 1
Act within 60 days
Most banks require disputes to be filed within 60 days of the TWITCH*BITS charge appearing on your statement. Act quickly to preserve your right to a chargeback.
- 2
Contact Twitch Bits support first
Visit help.twitch.tv and submit a support ticket referencing the TWITCH*BITS charge. Twitch may issue a refund directly, which is faster than a bank dispute, especially for unauthorized purchases.
- 3
File a chargeback with your bank
If Twitch Bits support does not resolve the issue, call your bank or card issuer and formally dispute the TWITCH*BITS charge as unauthorized. Provide the transaction date, amount, and any correspondence with Twitch.
- 4
Request a new card
If the TWITCH*BITS charge appears to be fraudulent and your card details were compromised, ask your bank to cancel your current card and issue a new one to prevent further unauthorized charges.
Tips for Managing Twitch Bits Charges
Enable Twitch email notifications so you receive instant confirmation every time a TWITCH*BITS purchase is made on your account.
Keep a log of your Twitch Bits purchases so you can quickly reconcile any TWITCH*BITS charge that appears on your statement.
Secure your Twitch account with two-factor authentication to prevent unauthorized Bits purchases and unexpected TWITCH*BITS charges.
Remember that Twitch Bits are one-time purchases, not subscriptions — each TWITCH*BITS charge reflects a specific bundle you or someone on your account bought.
Use a virtual card number for Twitch Bits purchases so you can easily block future charges without affecting your main card.
Use WhatIsThisCharge.net to identify related charges such as TWITCH*SUB or other Twitch billing descriptors you may not recognize.
Frequently Asked Questions About the TWITCH*BITS Charge
ℹ️ Note
In most cases, a TWITCH*BITS charge is a legitimate Twitch Bits purchase made by you or someone with access to your account — it's one of the most common gaming-related charges reported by Twitch users who regularly support streamers.
🔍 Decode this charge instantly
Search our database for TWITCH*BITS and similar charges.
Decode TWITCH*BITS →Was this article helpful?